
How to Convert an Image to Excel (2026 Step-by-Step Guide)
How Do You Convert an Image to Excel?
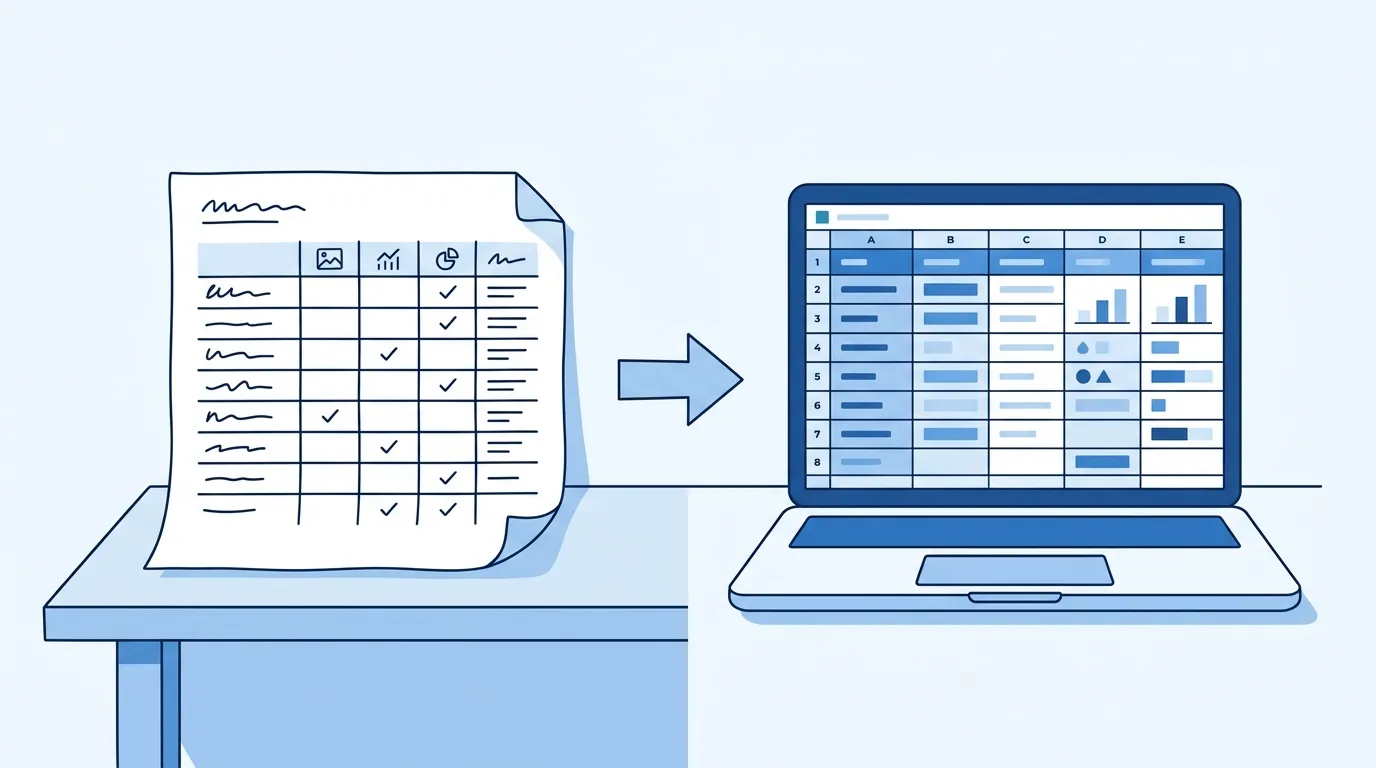
To convert an image to Excel, upload a picture of a table (JPG, PNG, or screenshot) to an OCR-based converter, let it recognize the rows and columns, review the extracted cells in a preview, and download the result as an .xlsx or CSV file. The whole process takes under a minute for a clear image — no software installation required.
This guide walks through the exact steps using our free image to Excel converter, explains how to prepare your image so the rows and columns come out right, and covers what the output file actually contains. If your source is a PDF instead of an image, see the guide on converting a scanned PDF table to Excel instead.
Which Images Can Be Converted to Excel?
Any image that shows a table with a visible row-and-column structure can be converted: screenshots of spreadsheets, photos of printed tables, captures of tables inside PDFs or web pages, and scans of paper documents.
The converter works best on images where cell boundaries are clear — either drawn grid lines or consistent spacing. Photos of tables on screens, images exported from presentation slides, and pictures of inventory sheets or price lists are all common inputs.
One boundary to be aware of: the current recognizer understands English and Chinese content (or a mix of both). Tables in other languages are not reliably recognized yet. Also, each image file can be up to 10 MB — photos straight off a modern phone camera sometimes exceed this, so resize before uploading.
How to Convert an Image to Excel Step by Step
Here is the complete workflow, from upload to a downloaded spreadsheet:
What Does the Converted Excel File Contain?
The output is a real spreadsheet, not a picture of one: each recognized cell lands in its own cell, with rows and columns matching the layout of the source image. Text stays as text, and numeric-looking values land as values you can sum and format.
You keep editorial control at the moment that matters. The on-page preview lets you correct errors before download, and the recognizer flags cells that deserve a second look — empties, and number or date columns where misreads are most expensive.
Choose .xlsx when you want formatting and multiple styling options in Excel; choose CSV when the destination is a database, a script, or another app that prefers plain tabular data.
How Should You Prepare an Image for Accurate Conversion?
Recognition quality is decided mostly by the input image, and four properties matter most.
Crop to the table. Remove surrounding app UI, captions, and whitespace. Everything the recognizer sees, it tries to interpret — stray text above or below the table can become phantom rows.
Shoot or crop straight-on. A photo taken at an angle compresses the column spacing and is the single most common cause of values drifting into the wrong column. Hold the camera parallel to the page, or re-screenshot instead of photographing a screen.
Ensure contrast. Dark text on a light background converts far better than light-gray text or dark-mode screenshots with low contrast.
Avoid compression artifacts. Repeatedly re-saved JPEGs develop halos around characters. A fresh PNG screenshot is the most reliable input format.
What Are the Limitations of Image-to-Excel Conversion?
Being honest about the boundaries will save you time:
Merged cells are flattened. A cell spanning several columns becomes a value in the first column; expect to re-merge manually after download.
Handwriting is a separate problem. Neat handwriting sometimes survives, but for handwritten tables use the dedicated handwritten-to-Excel flow, which is tuned for handwriting's lower legibility and the heavier review it needs.
Multi-page documents belong in the PDF workflow, which handles page ranges and the failure modes specific to scanned PDFs.
No recognition is 100% accurate. Any OCR system — including this one — misreads some characters, especially in low-quality images. Budget two minutes of review for an important table; that is what the on-page editing and risk hints are for.
Free use is quota-based (currently 3 conversions per day, no signup) — see the pricing page for paid limits if you convert regularly.
Convert Your First Table Image
Converting an image to Excel is now a one-minute job: upload, review the flagged cells, edit if needed, and download a real .xlsx or CSV file. The quality you get out is mostly determined by the quality you put in — a straight-on, high-contrast, cropped image removes most of the work in step three.
If your table lives in a screenshot, the guide on extracting a table from a screenshot covers that workflow in more detail.
Convert an Image to Excel NowFrequently Asked Questions
Is the image to Excel converter free?
Yes — no signup is needed and there is a free daily quota (currently 3 conversions per day) for the Excel extraction tool. Higher or commercial-volume needs are covered on the pricing page.
What image formats can I convert to Excel?
JPG and PNG images, including screenshots, up to 10 MB per file. For tables inside PDF documents, use the PDF-to-Excel flow instead.
Can I convert a photo of a table taken with my phone?
Yes, if the photo is straight-on and in focus. Angled or blurry photos are the main cause of values landing in the wrong column, so reshoot rather than convert a bad photo.
Does the converter keep the table structure?
Yes. Rows and columns from the image are reconstructed as real spreadsheet cells in the .xlsx or CSV output, and you can edit every cell in the on-page preview before downloading.
Which languages does the table recognition support?
Currently English and Chinese, including mixed-language tables. Tables in other languages are not reliably recognized yet.
Is my uploaded image stored?
Uploads are processed to produce your result. For details on retention, check the privacy policy linked in the site footer before uploading sensitive documents.